

Whilst I’ve only just started to scratch the surface of what would be possible with alarm events I thought I would share how I setup an alarm event to send an email when specific users used a specific door or in this case an auto gate.
This alert was setup on Salto ProAccess SPACE with SPAONLINE license that allows Alarm events, and also required an online door to work properly (either CU42E0 or a lock connected to BLUEnet).
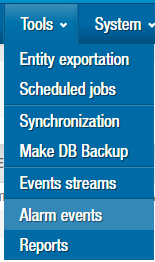
Under the tools menu pick Alarm events

Give the event a useful name and a description if you want.
Trigger
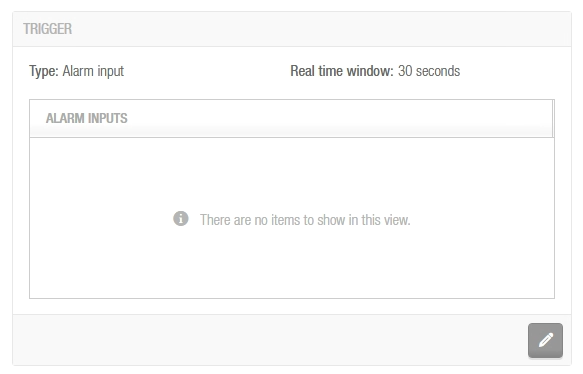
To start setting up the event in the trigger section click the pencil icon
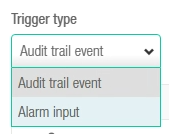
This particular event I used the Audit trail event
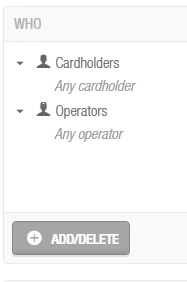
The ‘WHO’ section lets you pick which cardholders and/or operators will trigger the event.
For my event I picked the specific cardholders I wanted and removed ‘Any operators’ from the Operators tab.
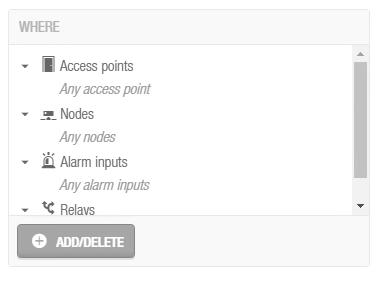
The ‘WHERE’ section lets you choose what Access points, nodes, alarm inputs or relays will trigger the event.
For my event I added the access point that I wanted to use and made sure I removed the ‘Any node’, ‘Any alarms input ‘ and ‘Any relays’ from the other tabs to prevent them from triggering the event.
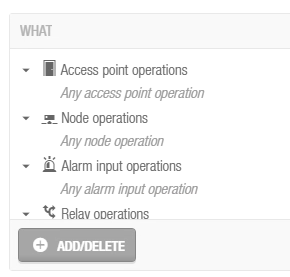
The ‘WHAT’ section has loads of operations to choose from for Access points, nodes, alarm inputs and relays.
For my use I picked ‘Door Opened (Key)’ from the Access point operations list. I also made sure I removed the ‘Any node operations’, ‘Any alarms input operations’ and ‘Any relay operations’ from the other tabs to prevent them from triggering the event.
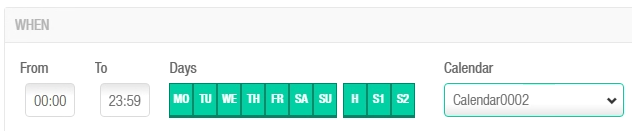
The ‘WHEN’ section lets you set a from and to time, specific days and which calendar you want it to use for H, S1 and S2 days.
This allows you to only have the event trigger between certain times and only on certain days.
Actions
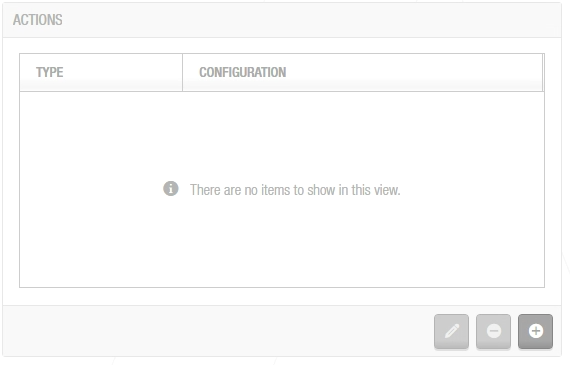
After setting up the trigger section, its time to move on to the actions section.
Click the + icon to add an action
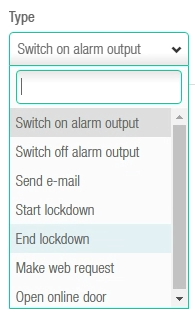
Pick the type of action you want to be performed.
For this event I picked ‘Send e-mail’, picking this gives you a ‘To’, ‘Subject’ and ‘Content’ field

To – Email addresses you want to notify (Separate multiple emails with a comma)
Subject – Subject of email
Content – This is the content that will be sent in the email. What I used is below.
Date: {trigger.LocalDate; format=”yyyy-MM-dd HH:mm:ss”}
User: {trigger.User.Name}
Door: {trigger.Door.Name}
The content section has a number of Macros that are available to be included in the email.
- {trigger.LocalDate; format=”yyyy-MM-dd HH:mm:ss”} – (Local date/time when the audit trail event occurred)
- {trigger.UtcDate; format=”yyyy-MM-dd HH:mm:ss”} – (UTC date/time when the audit trail event occurred)
- {trigger.Operation.Name} – (Operation name of the audit trail event)
- {trigger.Door.Name} – (Source of the audit trail event)
- {trigger.Door.ExtId} – (Door external ID)
- {trigger.Door.Gpf1} – (Door general purpose field 1)
- {trigger.Door.Gpf2} – (Door general purpose field 2)
- {trigger.Door.Gpf3} – (Door general purpose field 3)
- {trigger.Input.Name} – (Name of the alarm input)
- {trigger.Relay.Name} – (Name of the relay)
- {trigger.Node.Name} – (Name of the node)
- {trigger.User.Name} – (User’s Name)
- {trigger.User.ExtId} – (User external ID)
- {trigger.User.Gpf1} – (User general purpose field 1)
- {trigger.User.Gpf2} – (User general purpose field 2)
- {trigger.User.Gpf3} – (User general purpose field 3)
- {trigger.User.Gpf4} – (User general purpose field 4)
- {trigger.User.Gpf5} – (User general purpose field 5)
After you’ve done setting up the trigger and actions you want for your event make sure to hit save and test out your event to see if its working correctly.
Comments